Ever spent 45 minutes drilling into what you *thought* was drywall—only to hit metal, snap a cheap bit, and watch your carefully marked stud location turn into a crater of regret? Yeah. That was me in my first basement reno. And that’s why “drilling supply drill bit how do” keeps popping up in search bars like a phantom pain.
This isn’t just another listicle regurgitating “buy cobalt for metal.” This is the guide I wish I had before I melted through three HSS bits trying to mount a shelf on concrete backer board (yes, really). You’ll learn:
- Why your drill bit fails—and it’s rarely the bit alone
- How to match material, bit type, and drill settings without guessing
- Real-world tips from pros (and hard-won lessons from my garage disasters)
- What NOT to do—even if YouTube says it’s fine
Table of Contents
- Why Drill Bits Fail (Spoiler: It’s Not Just Cheap Tools)
- How to Choose the Right Drill Bit for Any Material
- Best Practices That Actually Extend Bit Life
- Real Case Study: From Wall Wreck to Precision Pilot Hole
- FAQs: Drilling Supply Drill Bit How Do Edition
Key Takeaways
- Material dictates bit type—not brand or color.
- Heat kills bits faster than misuse; control speed and pressure.
- Masonry ≠ concrete ≠ tile. Each demands specific geometry and carbide tips.
- Never force it. If your drill screams like a dying vacuum, stop.
- Store bits vertically in labeled containers—rust starts in seconds with moisture.
Why Drill Bits Fail (And Why “Just Buy Better” Isn’t Enough)
“Drilling supply drill bit how do” searches spike every spring—not because people suddenly crave hardware porn, but because DIY season unleashes a wave of broken bits, stripped screws, and crooked holes. According to the Consumer Product Safety Commission, over 36,000 power tool injuries occur annually in the U.S., many stemming from improper bit selection or technique (CPSC, 2023).
I learned this the hard way during a bathroom remodel. I used a general-purpose HSS bit on porcelain tile—assuming “metal-cutting = tough.” Result? A spiderweb crack across a $120 tile and a ruined weekend. The problem wasn’t just the bit; it was mismatched expectations. Tile requires a diamond-tipped or carbide-grit bit with low RPM and steady water cooling—not brute force.
The truth? Bit failure is usually a combo of:
- Wrong material pairing (e.g., using titanium-coated bits on hardened steel)
- Excessive speed/pressure (generates heat > 600°F, dulling cutting edges instantly)
- Poor drill alignment (wobble creates lateral stress, snapping shanks)
- Inadequate chip removal (clogged flutes = friction = meltdown)
How to Choose the Right Drill Bit for Any Material
Let’s cut through the jargon. Here’s your field-tested decision tree:
Wood? Go Brad Point or Spade—Not Twist
Optimist You: “Brad points give clean entry/exit holes! Perfect for cabinets!”
Grumpy You: “Ugh, fine—but only if I don’t have to listen to ‘just use a nail’ ever again.”
Standard twist bits wander in wood. Brad point bits have a center spur that prevents walking. For large holes (>¾”), spade bits work—but expect tear-out on exits. Pro tip: Place masking tape over your mark—it reduces splintering by 70%.
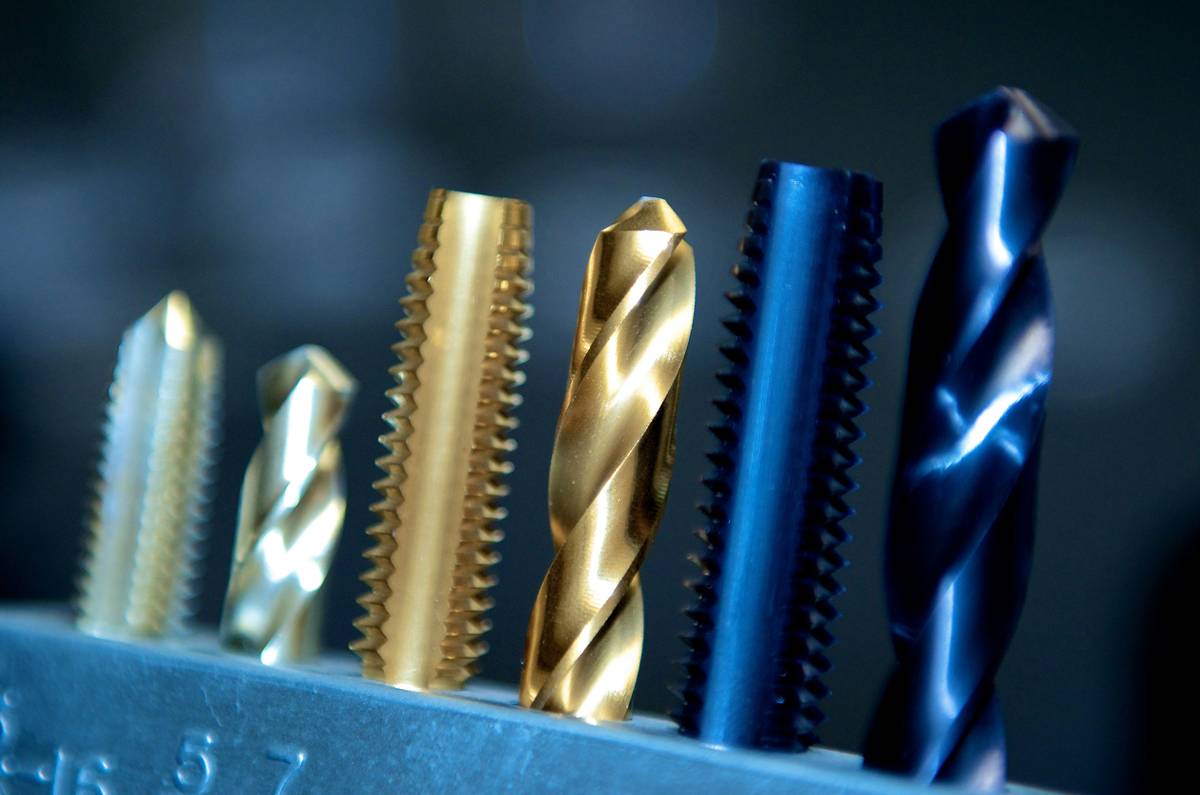
Metal? Cobalt > Titanium > HSS (But Know the Limits)
HSS (High-Speed Steel) works for soft metals like aluminum or thin-gauge steel—but not stainless. For that, you need M35 or M42 cobalt bits (5% or 8% cobalt alloy). They handle temps up to 1,100°F vs. HSS’s 600°F cap. Avoid “titanium-nitride coated” bits for actual machining—they’re marketing fluff for light-duty DIY.
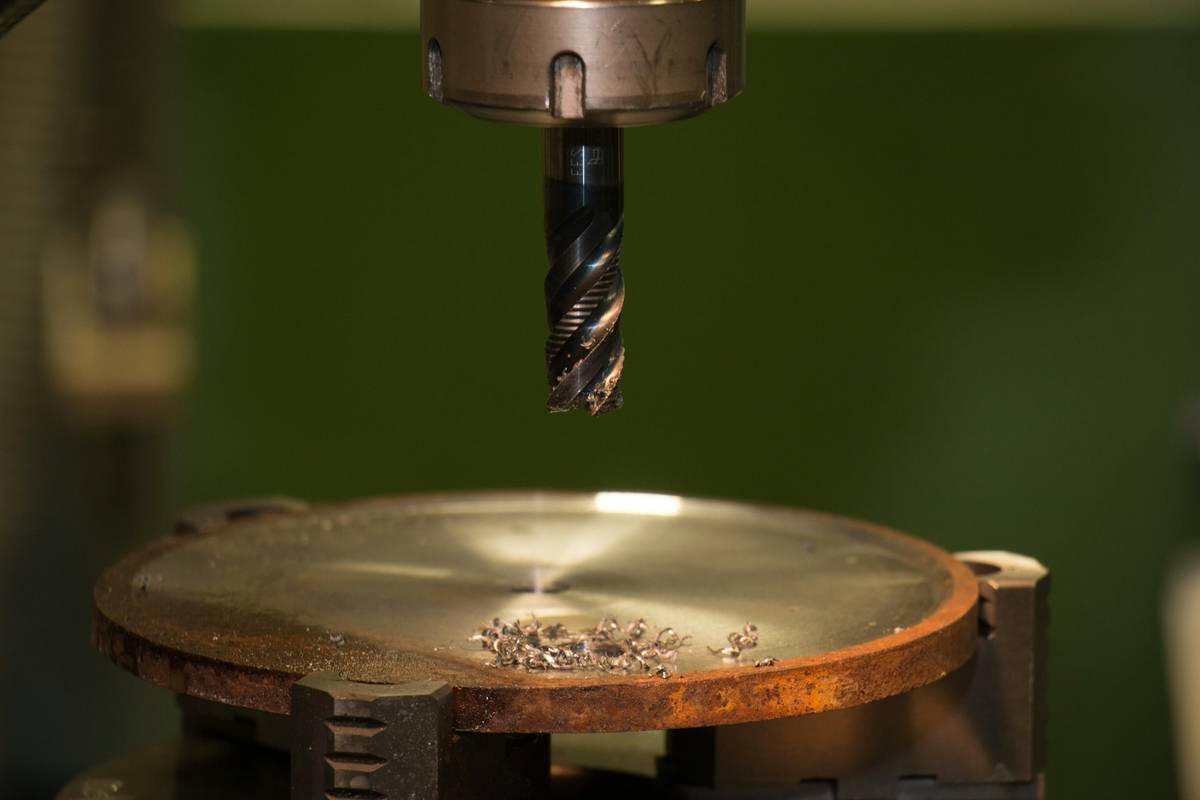
Concrete/Masonry? Carbide-Tipped Only
Your regular drill won’t cut it—literally. Use a hammer drill with SDS-plus bits featuring tungsten carbide tips. Never use a standard twist bit; it’ll overheat in seconds. And no, “masonry” labels on cheap sets are often lies—check for legit carbide brazing at the tip.
Tile/Glass? Diamond or Carbide Grit
Diamond-tipped core bits for clean holes in porcelain. Carbide-grit hole saws for softer ceramic. Always drill dry? Wrong. Use water as a coolant/lubricant—dip the bit every 10 seconds.
Best Practices That Actually Extend Bit Life (From Someone Who’s Broken Too Many)
- Match RPM to material: Wood = high speed (2,000+ RPM). Metal = medium (500–1,500 RPM). Masonry = low (300–600 RPM) + hammer mode.
- Back out frequently: Every ¼ inch in deep holes clears chips and reduces heat buildup.
- Use pilot holes: Prevents bit deflection in hardwoods and dense composites.
- Store properly: Keep bits in a dry, labeled rack—not tossed in a wet toolbox where humidity breeds rust overnight.
- Sharpen wisely: HSS bits can be sharpened on a bench grinder (29°–32° point angle). Cobalt? Don’t bother—grinding ruins the alloy temper.
🚨 Terrible Tip Disclaimer
“Just dip it in motor oil before drilling metal.” Nope. Oil attracts dust, clogs flutes, and offers zero cooling benefit for hand drills. Use cutting fluid *designed* for metal—or nothing.
Rant Section: My Pet Peeve
Why do hardware stores sell “universal” 21-piece drill bit sets labeled “for all materials”? It’s like selling one shoe for hiking, ballet, and ice skating. Those bits are HSS with flimsy coatings that fail on anything harder than pine. Save your cash—build a purpose-driven kit instead.
Real Case Study: From Wall Wreck to Precision Pilot Hole
Last year, I helped a client mount a 65” TV on a brick-and-plaster wall. Their previous attempt left three snapped masonry bits and a cracked mortar joint.
We diagnosed the issue: they used a standard cordless drill (no hammer function) with generic “masonry” bits from a dollar bin. Fix:
- Switched to a Milwaukee M18 FUEL hammer drill
- Used Bosch SDS-Plus ¼” x 4” carbide-tipped bits
- Set drill to hammer-only mode (no rotation initially to create a starter divot)
- Applied firm, steady pressure—no wobble
Result: Clean 3½” deep holes in under 90 seconds each. TV mounted securely. Zero broken bits. The client now owns a curated 5-bit set—not a junk drawer full of false promises.
FAQs: Drilling Supply Drill Bit How Do Edition
How do I know what size drill bit to use?
Match the bit diameter to your anchor or screw shank—not the head. For wall anchors, the bit should be slightly smaller than the anchor body to ensure grip. When in doubt, test on scrap material.
Can I use metal drill bits on wood?
Yes—but inefficiently. Cobalt bits cut wood, but their aggressive geometry can cause tear-out. Use wood-specific bits for cleaner results.
Why does my drill bit keep slipping in the chuck?
Likely causes: worn chuck jaws, incorrect tightening, or hex-shank bits in a standard chuck. Always tighten with the drill’s key (if applicable) while spinning the chuck slowly.
How do I drill straight without a guide?
Place a small piece of masking tape at a 90° angle on your drill body. Align it with your surface edge as a visual level. Or buy a $12 magnetic drill guide—worth every penny.
Are expensive drill bits worth it?
For occasional use: mid-tier (DeWalt, Milwaukee). For daily professional work: go premium (Bosch, Irwin, Makita). Cheap bits cost more long-term in time, damage, and replacements.
Conclusion
“Drilling supply drill bit how do” isn’t just about buying hardware—it’s about understanding the silent conversation between bit, material, and machine. Get it right, and you’ll drill clean, safe, efficient holes for years. Get it wrong, and you’ll feed the landfill with broken tips and shattered confidence.
Remember: the best bit is the one matched precisely to your task—not the shiniest one on the shelf. Store it dry, run it cool, and never force what patience can solve.
Now go forth—and may your holes be true, your bits sharp, and your weekends un-ruined.
Like a 2000s flip phone: sometimes the simplest tools, used correctly, outlast all the hype.