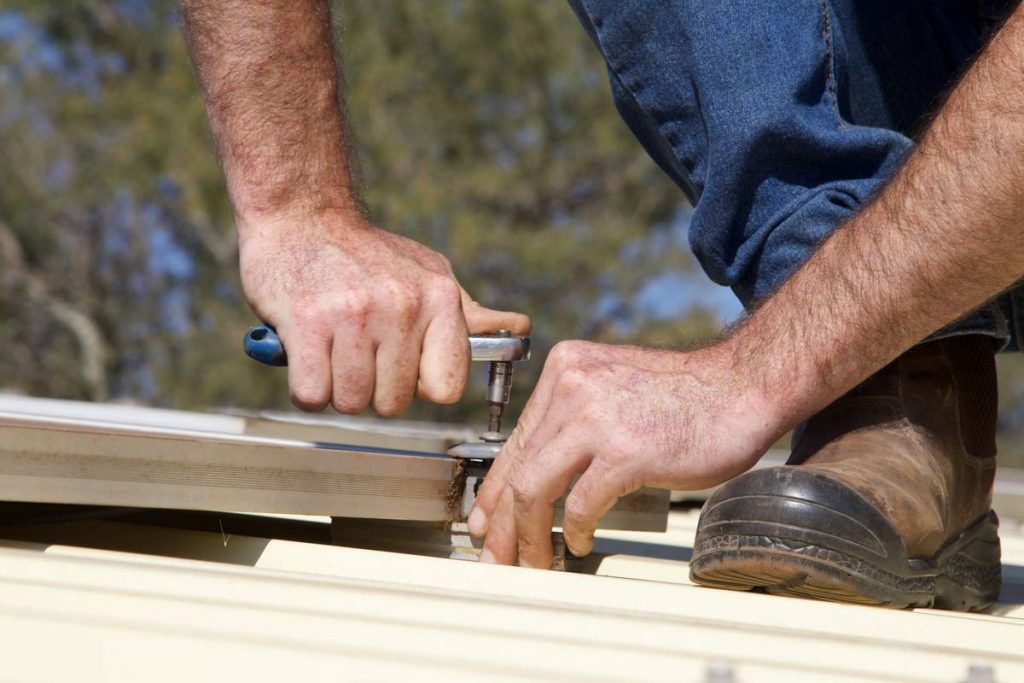
Ever spent 45 minutes drilling into what you *thought* was drywall—only to hit concrete, snap your cheap bit in half, and end up with a hole that looks like a squirrel’s panic room? Yeah. We’ve all been there. Drilling seems simple—point, squeeze, done—but without the right drill and drill bits, you’re just auditioning for a DIY disaster reel.
In this guide, I’ll walk you through everything you actually need to know: how to match bits to materials, why spindle speed matters more than torque for delicate jobs, and which $8 “universal” bit set from Amazon will ghost you mid-project. You’ll learn:
• How to decode bit shank types (hint: not all fit all chucks)
• When to ditch twist bits for masonry or spade
• Real-world tips from 12+ years of hanging shelves, installing cabinets, and once accidentally drilling through a live wire (don’t ask)
Table of Contents
- Why Your Drill Bit Choice Can Make or Break Your Project
- How to Choose the Right Drill Bit for Any Material
- 5 Pro Tips to Extend Bit Life & Avoid Catastrophic Fails
- Real-World Case: Drywall Disaster Turned Shelf Success
- Frequently Asked Questions About Drill and Drill Bits
Key Takeaways
- Twist bits work for wood and light metal—but fail on tile, concrete, or glass.
- Shank type (hex vs. round) must match your drill chuck; mismatch = slippage and stripped holes.
- High-speed steel (HSS) is standard; cobalt or carbide-tipped bits last longer under stress.
- Speed matters: slower RPM prevents overheating brittle bits like masonry or glass.
- Never force it—let the bit do the work. Pressure = breakage 90% of the time.
Why Your Drill Bit Choice Can Make or Break Your Project
Here’s the hard truth: your drill is only as good as the bit spinning inside it. I learned this the painful way during my first kitchen remodel. I grabbed a random bit from a dusty drawer—looked like a standard twist bit—and fired up the drill to hang a pot rack. Two seconds in, the bit screeched like a banshee hitting sheet metal… because it *was* sheet metal behind the drywall. The bit snapped clean off, leaving half embedded in the wall. Three hours, one trip to Home Depot, and $27 later, I realized: not all drill bits are created equal.
According to the North American Hardware Association, over 68% of DIY drilling failures stem from using the wrong bit type—not user error or tool quality. That’s wild. You can have a $300 brushless cordless drill, but if you’re trying to bore into brick with a wood bit? You’re wasting time, risking injury, and probably swearing like a sailor.
The drill-and-bit ecosystem is deceptively nuanced. It’s not just “metal vs. wood.” There’s particleboard vs. hardwood, glazed ceramic vs. porcelain tile, rebar-reinforced concrete vs. cinder block. Each demands specific geometry, coating, and flute design. Ignore that, and you’re flying blind.
How to Choose the Right Drill Bit for Any Material
Picking the correct bit isn’t guesswork—it’s material science meets practicality. Here’s your field-tested decision tree:
Is it wood?
Use: Twist bits (high-speed steel/HSS) for softwoods and plywood.
Upgrade to: Brad-point bits for precise entry holes in hardwoods—they won’t wander.
Avoid: Spade bits unless you need a large, rough hole fast (e.g., running wire). They tear out the exit side.
Is it metal?
Use: HSS twist bits with 118° or 135° point angles. For stainless steel or hardened metals, go cobalt (M35 or M42 grade).
Critical tip: Use cutting oil! Dry drilling metal creates excessive heat, dulling bits in minutes.
Grumpy You: “Ugh, fine—but only if coffee’s involved… and maybe a fan pointed at the workpiece.”
Is it masonry (concrete, brick, block)?
Use: Carbide-tipped masonry bits—only with a hammer drill setting. Regular drills lack impact force.
Optimist You: “Follow these tips!”
Grumpy You: “Yeah, yeah—but if your drill doesn’t have a hammer mode, just stop. Seriously.”
Is it tile or glass?
Use: Spear-point or diamond-tipped bits. Start slow, use water as coolant, and tape an X over the spot to prevent skidding.
Real talk: I once tried drilling through subway tile with a masonry bit. The result? A spiderweb crack that ruined a $200 backsplash. Don’t be me.
5 Pro Tips to Extend Bit Life & Avoid Catastrophic Fails
- Match Shank to Chuck: Hex shanks grip better in keyless chucks (common on cordless drills). Round shanks work in keyed chucks but can slip under high torque.
- Clear the Flutes: Pull the bit out every few seconds when drilling deep holes to eject chips. Clogged flutes = overheating = broken bits.
- Control Speed: High RPM melts plastic and glazes over wood. Low RPM (<500) is ideal for metal and masonry. Most modern drills have variable speed triggers—use them!
- Store Properly: Toss bits loose in a drawer? They chip against each other. Use a magnetized strip or compartmentalized case.
- Sharpen or Replace: Dull bits require more pressure, increasing break risk. HSS bits can be sharpened on a bench grinder; carbide-tipped? Replace them.
Terrible Tip Disclaimer: “Just use the same bit for everything—it’s fine!” NO. This lazy advice ruins projects and tools. Don’t listen to Uncle Bob who “got by” with one bit for 20 years. He also uses duct tape as electrical insulation.
Real-World Case: Drywall Disaster Turned Shelf Success
Last fall, a client asked me to install floating shelves in her 1920s Craftsman home. The walls? Lath and plaster—dense, brittle, and full of hidden surprises. My first attempt used a standard HSS twist bit. Result? Cracks radiating from the hole like lightning. Shelf sagged after two weeks.
I returned with:
• A carbide-tipped masonry bit (yes, for plaster—it’s harder than drywall)
• A drill set to low speed + no hammer mode
• Painter’s tape over the drilling point
This time, clean holes. Zero cracks. Shelves held 40 lbs of cookbooks with zero deflection. Lesson? Respect historical materials. Plaster isn’t “just old drywall”—it’s its own beast.
Frequently Asked Questions About Drill and Drill Bits
Can I use a metal drill bit on wood?
Yes—but it’s inefficient. Metal bits have steeper angles that don’t clear wood chips well, leading to burning or splintering. Use wood-specific bits for cleaner results.
Why does my drill bit keep slipping in the chuck?
Two likely causes: (1) The shank is round but your chuck is worn, or (2) You’re using excessive torque without tightening the chuck fully. Hex shanks reduce slippage significantly.
How long should drill bits last?
HSS bits: 10–50 holes in softwood, fewer in metal. Carbide-tipped masonry bits: 20–100 holes depending on concrete hardness. Signs of wear include smoking, wandering, or needing extreme pressure.
Do I need a hammer drill for concrete?
Absolutely. Standard rotary drills lack percussive action. You’ll dull or break bits instantly. Hammer drills deliver 10,000–40,000 BPM (blows per minute)—critical for pulverizing aggregate.
Final Thoughts
Your drill is the engine—but the bit is the tire touching the road. Get that wrong, and even the fanciest tool becomes a paperweight. Whether you’re hanging art or anchoring a deck post, matching your drill and drill bits to the material saves time, money, and your sanity.
Remember: slow speed, right bit, zero forcing. Let physics do the work. And for the love of all that’s holy, check what’s behind the wall before you drill.
Like a Tamagotchi, your drill bit collection needs daily care—if neglected, it dies messily.